This is how you make your own snow globe with FIMO
I am often asked about how to craft a snow globe. There are different possibilities for this. Here are the ones that are most frequently used and what you have to look out for.
If you want to make a plastic snow globe, you have a wide selection. There are different plastic sleeves (with black base or with transparent base).
In addition, distilled water and the necessary water are needed so that the water does not tip over and the necessary snow.
The figure in the ball can be tinkered with FIMO mass. But you can also use a finished figure. In addition, you need a model building adhesive, so that the ball really well together and some detergent.
See also here the contribution to self-crafting a snow globe with glass.
The Craft kit with FIMO
The company Staedler has a set of kits, with which you can create very nice snow balls relatively easily with the crafting plasticine FIMO. There is the snow globe as an empty shell (in two different sizes), distilled water as well as the necessary water clear, so that the water does not tip and the necessary snow. In addition you need the FIMO mass in the appropriate colors, in which you want to design an object (all these objects are available in the shop of Schneekugelhaus and indeed here). In addition, you need a model adhesive, so that the ball really well together and some detergent.
The video also shows and explains what is important.
Then it goes to the crafting of the inner figure. Please note that the figure inside the ball is somewhat larger by the water. In addition, the figure may not bump on the lid, so it should rather be smaller than too large. When everything is ready, put the figure on the ground of the snow globe.
Then the complete figure along with the ground comes into the oven at 130 degrees Celsius for half an hour. After that she should cool down first.
Once this is done, the bottom of the inner life can be glued to the plastic bottom of the snow globe. Please take care that the hole of the FIMO floor is just above the hole of the floor of the snow globe! To fix it, you need an adhesive that is not soluble in water, which is usually an adhesive from the model building. These are available in specialist stores or also in the Schneekugelhaus.
When the glue is dried, fill the snow into the transparent half of the ball. Place the ball cap in the opposite direction into a cup. Add a drop of rinsing agent and a few drops of distilled water. (The ball cap should not be filled more than a quarter.) Then spread the adhesive around the edge of the ball or around the edge of the floor. Then press the bottom of the snow globe together with the figure from above into the ball.
The next day, the ball is completely filled with water. For this purpose distilled water is filled from the bottom via the plug. So that the water does not become turbid, some water should be added. It is best to fill the water (as well as refill when water evaporates) with a fine funnel or syringe. In the end there should be no more air in the ball. To do this, you can also slightly tilt the ball, so that the side where the filling plug sits at the top stands, then the air goes away from the outside.
Now just plug the hole back – and you’re done with the self-made snow globe!
Craft kit with glass snow globe
Snow globe with photo

In the Schneekugelhaus there are also Bastelsets for glass-snow globes. These consist of the usual glass for the ball, a rubber stopper for filling the ball and a porcelain base. In these balls you can of course also a Fimo figure or another finished figure (from surprise egg or from the toyshop). Also here you need the filling material (snow or glitter) as well as water clear and an adhesive. The pedestal can be painted with acrylic paint or with photos.
Alternatives to the finished kit
Obviously, other figures can be placed in the snow globe instead of the FIMO figure. The contents of surprise eaters, for example, or other favorite pieces. However, they should not be made of metal, but the figure rust will be applied.
Even the finished plastic snow globe does not have to be used. Likewise, a flushed mustard or jam jar – turned upside down – can be lovingly designed and filled.
Again, it is, of course, important that the figure also really fits into the glass. This should be tried before.
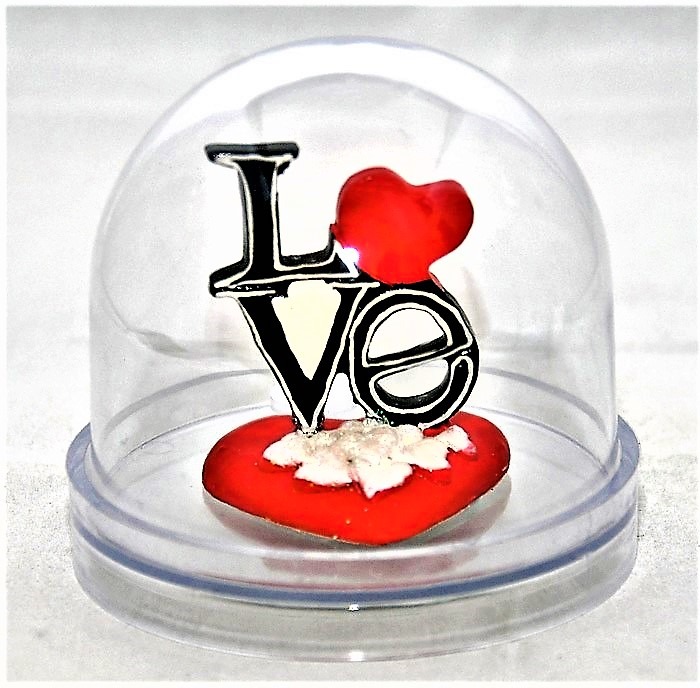
Instead of snow, glitter or small hearts can also be filled into the ball.
Zu den Bastel-Produkten im Shop
Snow globe with photo
A much less elaborate variant of a homemade snow globe is the photo sphere with inserted photo. There is no limit to your creativity. For example, you can add a slogan like “Nice to have us”. Also photo collages work very well in – correspondingly large – snow globes.
You will find the corresponding balls for photo bays hier
Further tips and examples:
http://www.helles-koepfchen.de/artikel/1919.html
